Hello and a very happy September to you all.
The leaves are starting to fall and I saw Christmas cards in my local paperchase the other day - when did that happen? I feel like Summer never really kicked off with blazing heat, however we do live in the UK and it would be crazy if that did actually happen, alas, we still live in hope and the British love of talking about the weather lives on... ra ra ra ra, I'll shoosh now : )
Anyway, another wonderful season is upon us full of colour and coats, gloves and hats. The fashions for this A/W are gorgeous, its all 40s glamour, capes and black lace with a wonderful selection of accessories and the colour pallet of Cluedo. Colonel Mustard, Mrs Peacock, Miss White to name a few of the gorgeous colours that we'll see this Autumn. We'll be making capes and furry hand muffs in our upcoming Sunday Specialist classes and for our regular Saturday Sewing Session we have fruity door stops, hot water bottle covers and the sausage dog draught excluder to name but a few.
One thing we did in our session the other day was an old fashioned coin purse with a kiss lock clasp.
Below are the details of how to go about making one for yourself or someone you love. This one has a slight twist and I extended the pattern to make a glasses cases but the principle is exactly the same. I have used a 3” curved frame but change the pattern depending on your clasp size and shape. This size clasp is perfect for all types of glasses.
What you need:
- Curved kiss lock frame
- 50cm x 20cm (20” x 8”) of the following …
…your choice of top fabric
…lining – either matching or a contrasting fabric
…iron-on medium/heavy weight interlining
- UHU or another strong fabric glue
Lets go…
Mark 2.5cm (1 inch) along from each edge
Mark 1cm (1/2 inch) up from the top of the curve
Draw a line (dashed pencil line - free hand is fine)
Now its time to extend the pattern to the size that you want.
For a glasses case measure from the very top of the pattern, down the crease to 21cm (8 1/2 inches)
Put a little line - this is your length mark (you can make it as long or as short as you like)
The bottom width of the case should be 14cm (5 1/2 inches) so...
Measure 7cm (2 3/4 inches) each side of the crease (from your length mark).
Pencil in the points and join up
With a straight line link the end of the dashed pencil curve to the bottom of the case
Cut out
Once its all cut out now you have to make the hinge markings. This will enable the purse to open.
- Line the frame up with the initial marking (green line) and rotate it around until the edge of the hinge hits the side of the pattern
- From that point, measure 1.2cm (1/2 inch) down and mark - shown below with a blue line
- Repeat with the other side.
Once you pattern is all marked and cut out its time to cut out the fabrics.
Using the same pattern cut out:
2 x Top fabric
2 x Lining Fabric
2 x Interfacing
*Remember: notch (snip) the hinge markings on all of the pieces
Once you have cut all your pieces out, you'll need to iron on your interfacing to the lining.
Set your iron to a medium heat
Place your lining fabric, wrong side up (the WRONG side, in lay terms, is generally the side that you don't want to be seen, the RIGHT side is the one you want to be seen, ie. the patterned side. If you can't tell the difference on either side, don't worry, it won't matter.)
One side of the interfacing will feel rough, this is the little glue pockets, place this rough side onto the wrong side of your lining and iron on. Repeat. The pink is my lining fabric. (The lining looks a wee bit longer on mine thats only because I was running out of interfacing : ) ) Your lining and your interfacing should now work as one piece of fabric.
There is 1cm (1/2 inch) SA (Seam Allowance) already on the pattern. With the RIGHT sides of your top fabric together...
- Pin in place
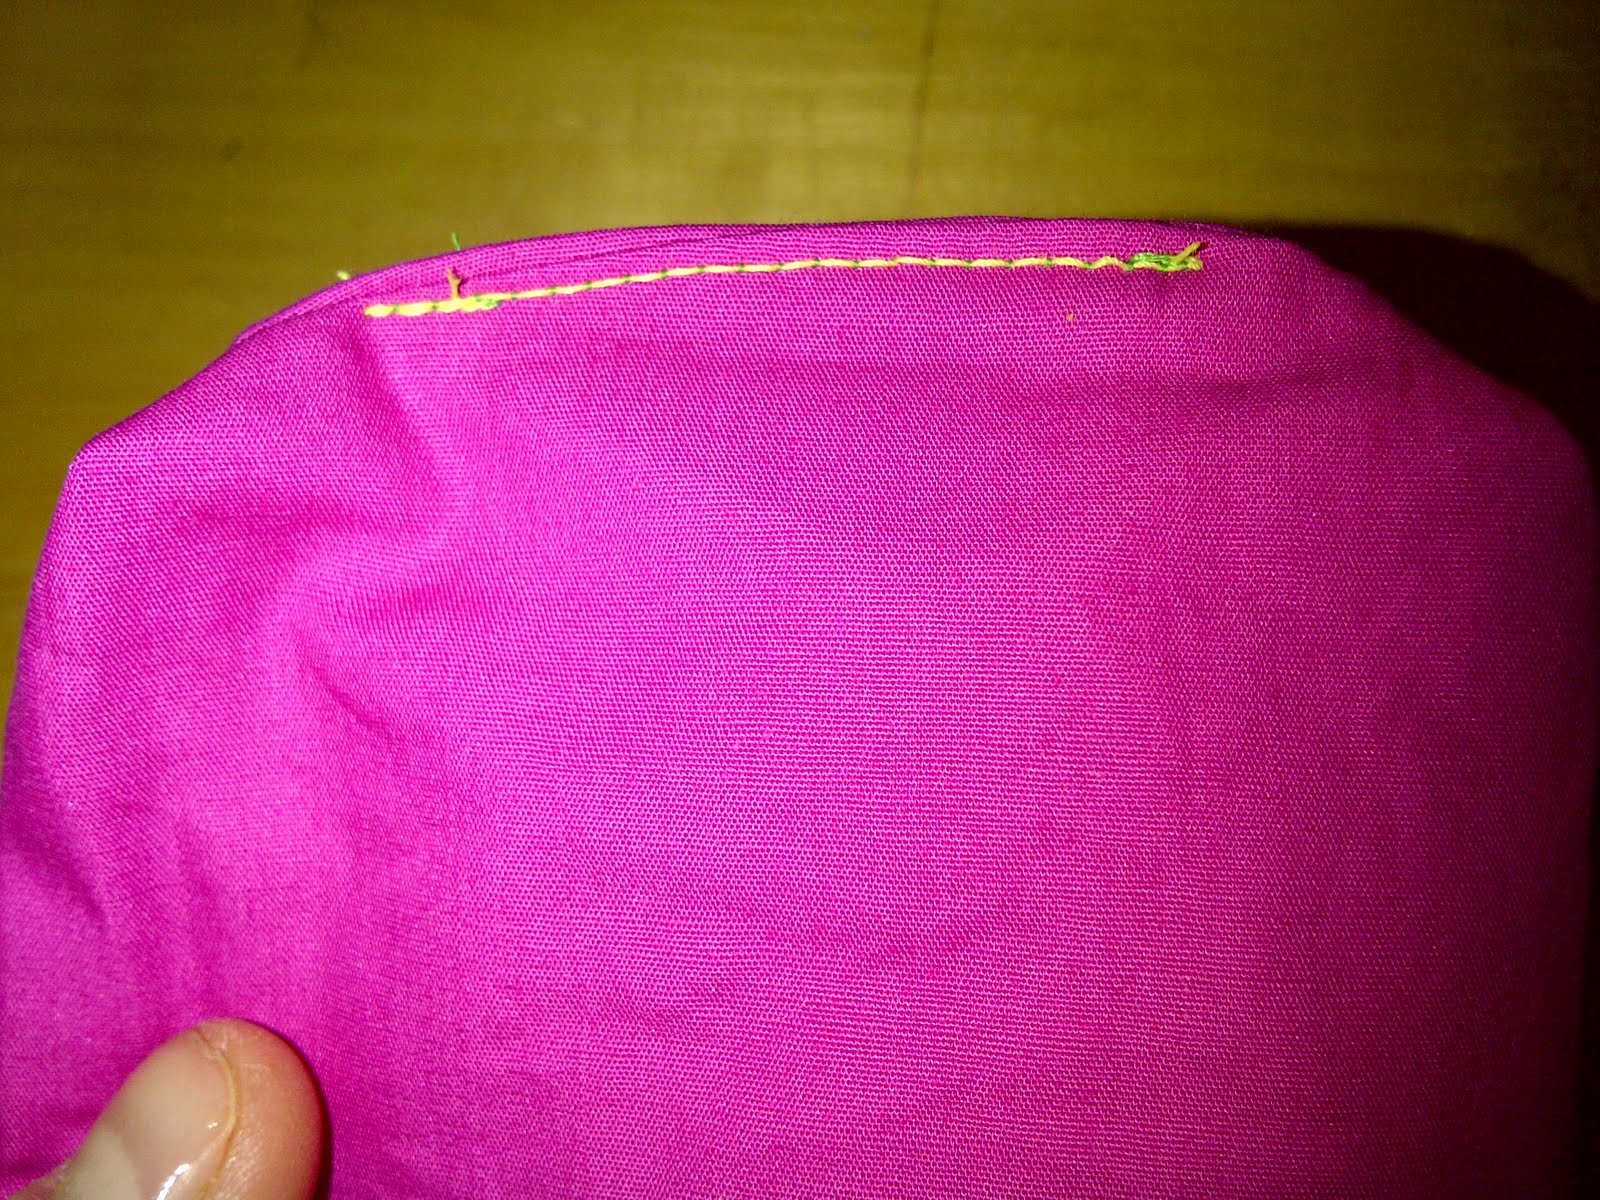
- Stitch together 1cm in from the hinge notches you made on the curve, leaving the curve at the top open.
Once your top fabric is sewed from notch to notch...
Take your lining fabric and place the RIGHT sides together (your interfacing should be on the outside)
Pin the two pieces together
At the bottom of the case you must leave an opening so mark a 6cm (2 1/2 inch) gap
Sew in the same manner as above, starting at the notches and finishing at the opening,
Repeat up the other side.
Once this is all done and you have both bags sewn up, its time to put a flat bottom onto your case. It looks really good and will give your bag shape. This is a great little trick for lots of bags.
Taking the corner of your top fabric bag, open out so that your bottom seam is lined up with your side seam. It should look like a triangle with little ears
Mark 1.5cm (1/2 inch) and a bit down from the tip of the triangle and mark with a pin or chalk/pen
Making sure that it is lying flat and sew a straight line along that marking
Cut off the excess
Repeat with the other corner and the corners of the lining too.
Once this is done turn your top fabric the right way round and admire your handy work...
Next, slip your top fabric bag into the lining bag so both right sides are together and the bottoms meet.
Once the exterior bag is safely tucked into the lining it is now time to sew up the curved edges.
Pin in place at first (right side to right side)
With your 1cm SA you want to sew around the curve, notch to notch, meeting up with your side seams
Its a bit fiddley but you'll get there. Start and stop if necessary to get a neat curve : )
Repeat on other side
Once you have sewn them up, its time to get rid of some of the excess fabric so that you have a neat curve when the case is pulled through to the right side.
To do this, cut out little triangles, being careful not to snip your lovely stitching.
Now pull the exterior bag through the gap in the lining and turn it in on itself so that the lining will be inside the glasses case - exactly where you want it!
Finger press the curve making sure you haven't any lumps and bumps and that everything looks great. Before you iron, you'll need to sew up the bottom of the lining bag.
Push the lining back in and press with a medium heat iron so that the curve is really crisp and tidy as we are going to add glue right on the edge!
Time to put on the clasp.
Its a bit messy but I have always loved getting glue all over the place, however, the glue will come happily off the frame but not the fabric so be a bit careful.
Wait a moment for the glue to become a bit tacky and then insert your purse into the frame...
Start by inserting both the sides of the purse into the frame at the hinge end and working pretty quickly push the top of the purse in too
A small pair of scissors or a head of a pin are a great help in pushing the fabric into the frame
Check the back and the front all the time making sure it is secure and in place
Leave to dry for 10 mins and then start with the other side
When its dry and the excess glue has been wiped away, double check its all looking lovely, make sure the clasp opens and closes and its looking great.
Then pour a lovely glass of wine or put the kettle on, find your sunnies or reading glasses and pop them in their new home.
Sit back and admire your new creation.
Nice one! X